Donal Skehan’s foolproof bread recipes – Japanese milk rolls, a no-knead focaccia and a crusty white loaf
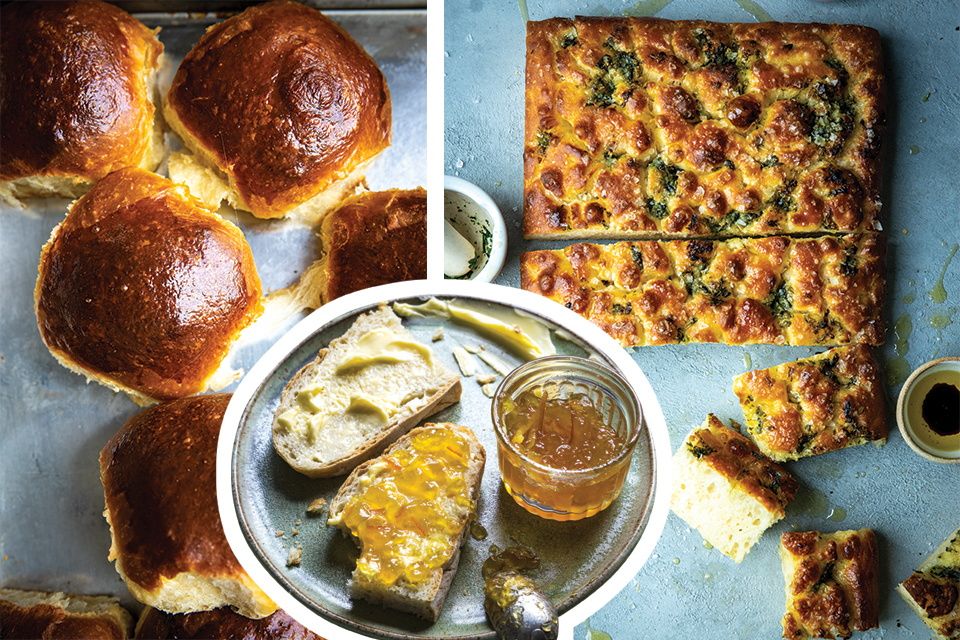
Donal Skehan's brilliant bread recipes. Photos: Donal Skehan

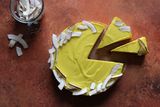
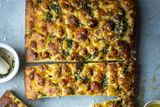
Garlic & Basil No-Knead Focaccia. Photo: Donal Skehan
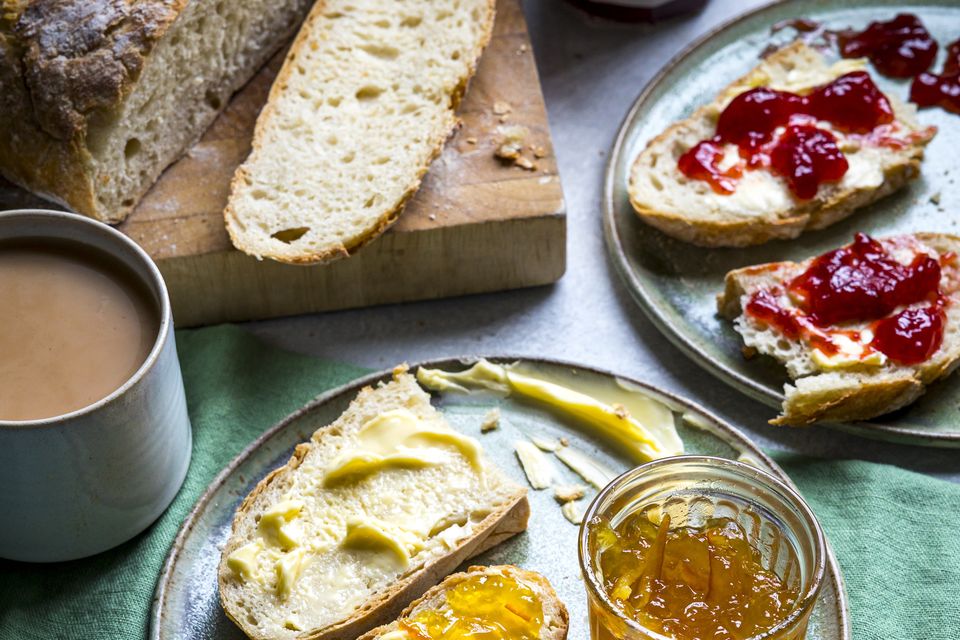
Crockpot Crusty White Loaf. Photo: Donal Skehan
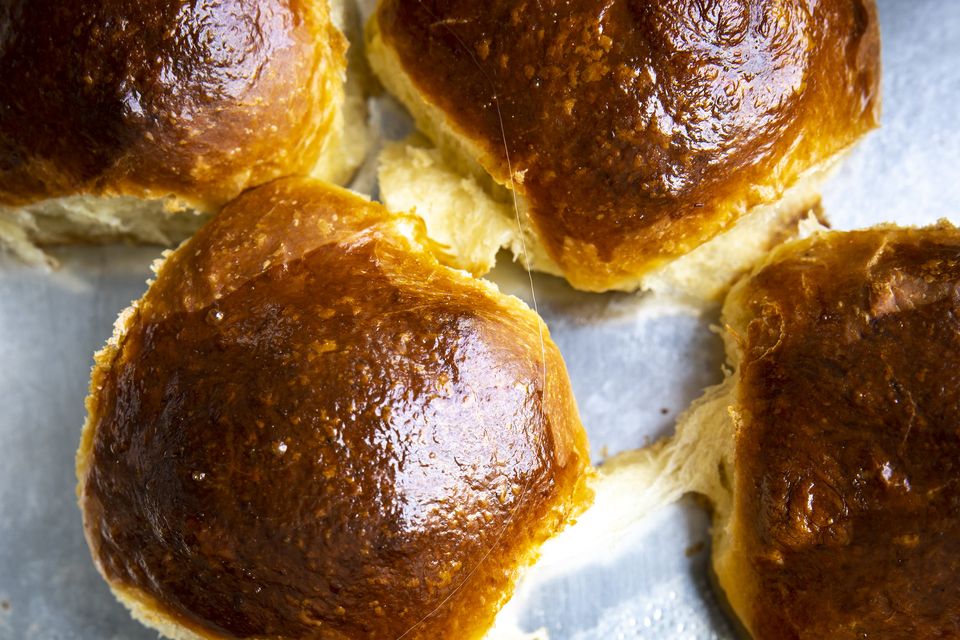
Japanese Milk Bread Rolls. Photo: Donal Skehan


This week, I have three bread recipes worth saving. Cut them out, stick them on your kitchen cupboard door and work your way through them as often as possible.
I fell in love with Japanese milk bread rolls on a trip to Tokyo and was surprised at their interesting technique, which relies on creating and adding a roux to the dough which provides the lightness that the bread is known for.
It’s one of the more complex bread recipes here but is worth mastering for its showstopping results. You can easily transform it by forming the rolls with cold cubes of garlic butter to make the most spectacular dinner rolls.
The more authentic focaccia recipes tend to be a sticky mess that is best left to the professionals, but in this garlic and basil no-knead focaccia, copious amounts of olive oil and a lack of kneading provide you with a surprisingly impressive and easy-to-handle loaf.
Once you have the method down, the dough can be transformed with a number of different toppings or even made into a deep-dish-style pizza with some good passata and mozzarella.
The recipe here for a crusty white loaf baked in a pot is all about simplicity and, like the focaccia, relies on minimal effort. The no-knead technique skips the traditional kneading process, allowing the dough to ferment for 12 to 18 hours. This simple method develops gluten naturally, resulting in a flavourful, airy loaf with minimal effort.
Cooking this in a heavy casserole pot gives you wonderfully satisfying results. The pot’s sealed environment traps steam, creating the perfect crust, while its heat retention ensures even baking.
Even if you’ve never baked bread before, this recipe and method is foolproof and well worth adding to your repertoire.
Read more
Japanese Milk Bread Rolls
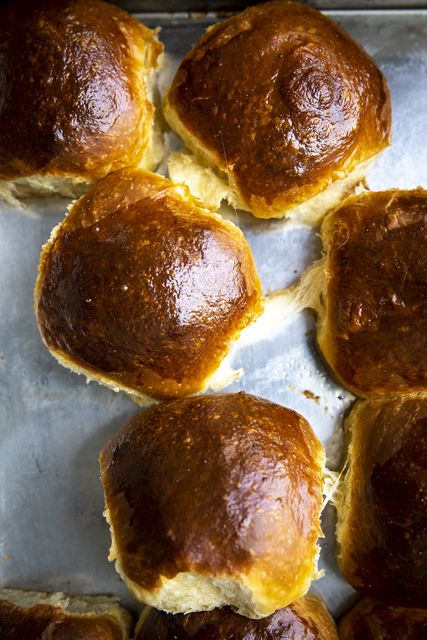
Japanese Milk Bread Rolls. Photo: Donal Skehan
Serves: 12
Time: 2 hours 45 minutes
For the tangzhong:
For the dough:
To glaze:
Ingredients 1. Start by making the tangzhong, the traditional roux used for this bread. In a small, non-stick saucepan, add the strong white flour and the milk. Mix well to remove any lumps and then place the pan on low heat, stirring continuously, using a rubber spatula, until it becomes thickened. Leave to cool completely before use.
2. To make the dough, add the strong white bread flour, sea salt, yeast and caster sugar to a stand mixer and combine. Make a well in the centre of the mix and add the egg, cream, butter and the cooled tangzhong.
3. Mix for 5 minutes on medium speed, using a dough hook attachment, until the dough becomes smooth and elastic.
4. Remove the hook and transfer the dough to a floured surface, dust with flour and knead it into a ball. Place it in a lightly greased mixing bowl and cover with cling film or a damp tea towel, then leave to prove for approximately 45 minutes, until doubled in size (the time will depend on the temperature of the room).
5. Grease a 9-inch x 12-inch deep-sided baking tin and set aside.
6. Once the dough has risen, place onto a clean, lightly floured work surface and knock the bread back by pressing down and pushing out any air in the dough. Knead again for about 5 minutes, then roll the dough into a long, sausage shape and divide into 12 portions. Roll each portion into a small ball and place into the greased tin and allow to prove again, lightly covered with cling film or a tea towel for 30-40 minutes or until doubled in size.
7. Preheat the oven to 180C/160C fan/350F/Gas Mark 4. Brush with the beaten egg to glaze and place into the oven to bake for 30 minutes until golden and risen.
8. Serve while still just warm and enjoy.
Garlic & Basil No-Knead Focaccia
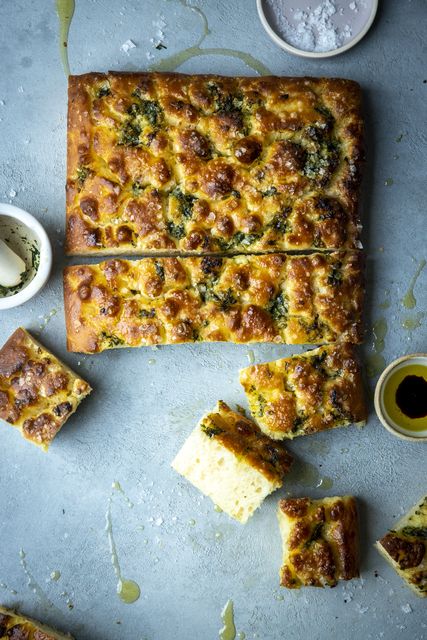
Garlic & Basil No-Knead Focaccia. Photo: Donal Skehan
Serves: 4
Time: 5 hours 35 minutes
For the dough:
For the garlic, basil rub:
Ingredients
1. Grease a 13-inch x 9-inch baking tray with olive oil. The tray should be at least an inch in depth.
2. Mix the dried yeast, honey and warm water together in a large bowl. Whisk, then leave for 15 minutes until a foam forms.
3. Add the flour and salt to this and stir to combine with a wooden spoon until you have a rough but evenly mixed dough.
4. Add 3 tablespoons of the olive oil to a separate, large, clean bowl and transfer the dough into this. Turn to coat the dough in the oil and cover and leave in the fridge overnight (alternatively, leave covered at room temperature for 4 hours to bake the same day).
5. Keeping the dough in the bowl and lightly coating your hands with oil, pull up the edge of the dough and fold over the top. Repeat this on all four sides, turning the bowl a quarter turn each time to make this easier. Do this three times in total.
6. Add the remaining tablespoon of olive oil to the prepared tin and tip in the dough, spreading to the size of the tin. Leave to rise for at least an hour, uncovered.
7. While this is rising, make the basil rub. Bash the garlic cloves in a pestle and mortar with the sea salt, until well-bashed. Add the basil leaves and bash until a paste forms. Slowly drizzle in olive oil until combined.
8. Preheat the oven to 220C/200C fan/ 425F/Gas Mark 7.
9. You know when your dough is ready when you poke it and the indentation slowly springs back. Oil your hands, and then, to create the indentations, spread apart your fingers and press into the dough, reaching the base of the tray.
10. Drizzle over the basil paste along with a little more sea salt.
11. Place in the preheated oven for 20-25 minutes until golden. Leave to cool for at least 10 minutes, then slide a thin spatula underneath and transfer to a cooling rack to cool completely before serving.
Crockpot Crusty White Loaf
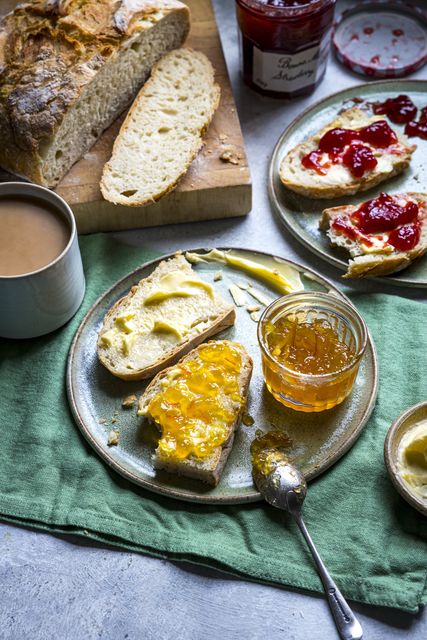
Crockpot Crusty White Loaf. Photo: Donal Skehan
Serves: 4
Time: 3 hours 45 minutes
Ingredients
To serve:
Ingredients
1. Mix the flours and salt together in a large bowl and set aside.
2. Whisk the yeast, sugar and water together in a jug and mix until the sugar has dissolved.
3. Slowly add the water to the bowl with the flour and stir with a wooden spoon until the dough has come together — you don’t want any dry patches of flour but there’s no need to mix vigorously.
4. Cover the bowl with a damp kitchen towel or some cling film and set aside for about 3 hours or until doubled in size.
5. When the dough has nearly risen, place the oven on to preheat to 220C/200C fan/425F/Gas Mark 7. Place a large cast-iron pot with a lid or Dutch oven dish into the oven to get hot — you want both the pot and the oven to be really hot.
6. When the pot is ready, scrape the dough out onto a floured surface and gently shape into a ball with floured hands and then place the ball of dough onto a piece of baking paper slightly larger than the dough ball. You can score the top with a sharp knife if you want to.
7. Remove the pot from the oven carefully using oven gloves and remove the lid. Use the baking paper to lift the dough ball into the pot, being careful to not touch the pot, then place the lid back on the pot.
8. Bake the bread for 35 minutes, then gently remove the bread from the pot and place back into the oven for 10-15 minutes to brown the crust.
9. Remove the bread from the oven and let it cool to at least room temperature before slicing and serving.
Join the Irish Independent WhatsApp channel
Stay up to date with all the latest news